
DIY Tofu: Learn to Make Fresher, Tastier Tofu at Home
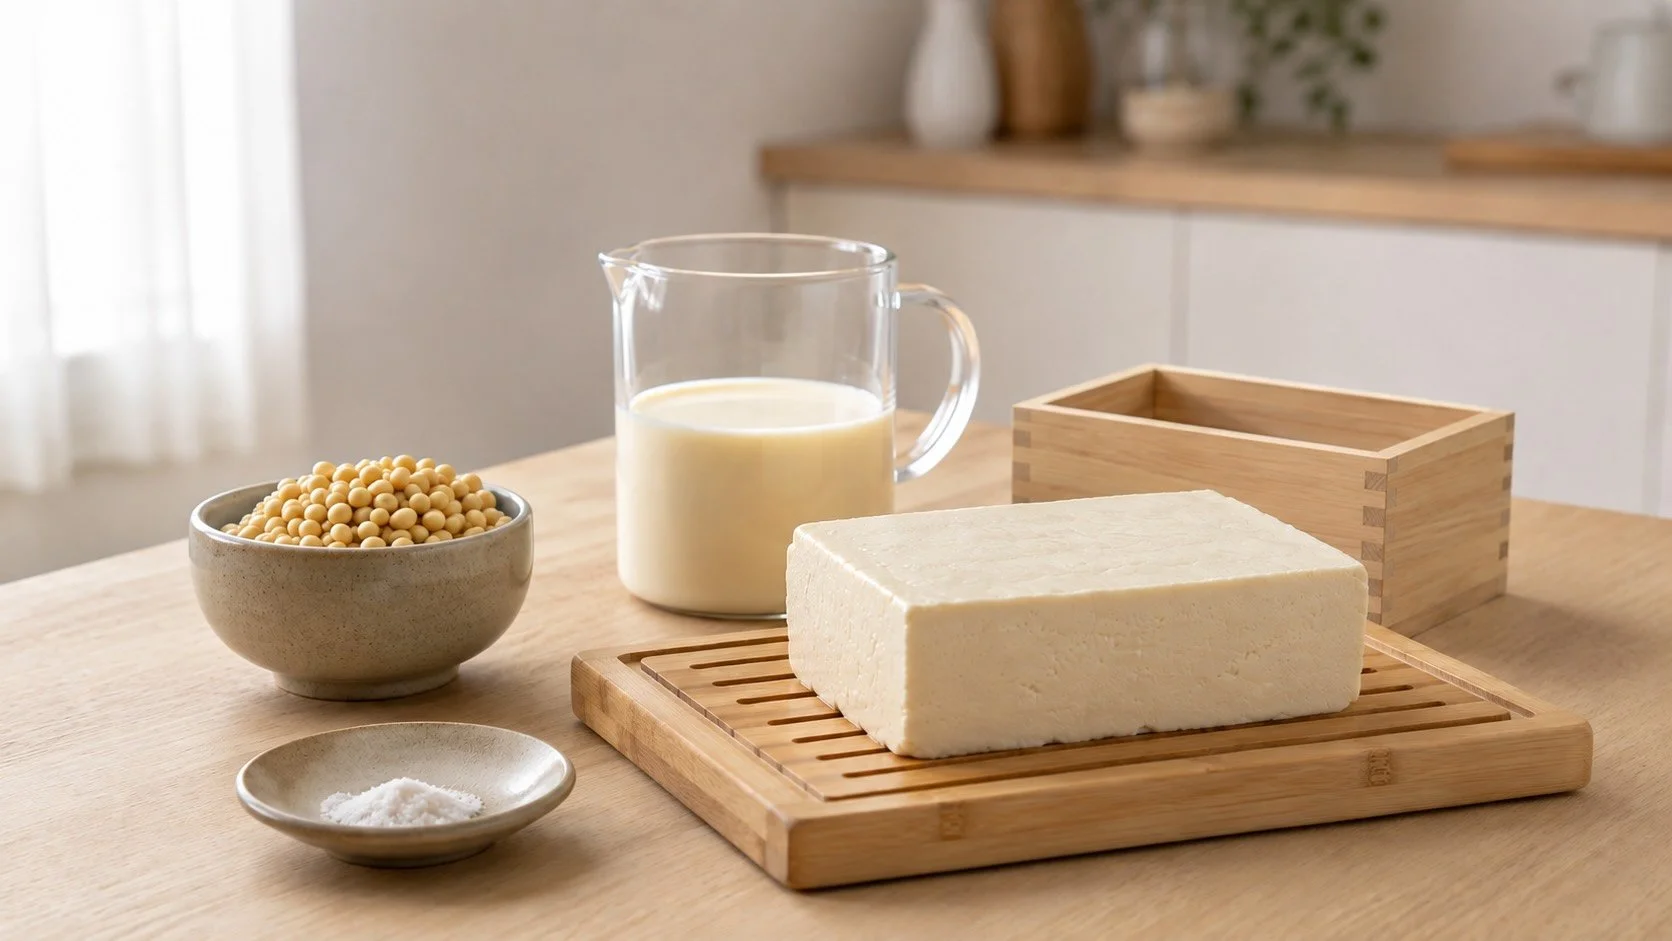
Making tofu at home transforms soybeans, water and a coagulant into something remarkably delicate. The process is simple in principle, but the final texture depends on a series of small decisions: how finely you grind the beans, how thoroughly you cook the soy milk, how gently you form the curds and how steadily you press them.
Homemade tofu is not automatically better than every packaged block. Its real advantage is control. You can enjoy it soon after making it, adjust its firmness and experience the craft behind an everyday food.
This guide uses a strain-before-cooking method to produce firm tofu with ordinary kitchen equipment. Filtering the soybean mixture while it is still cool avoids the hazardous job of squeezing a cloth filled with near-boiling pulp, making the process more manageable for home cooks.
What You Need
For one medium block, begin with:
250 g dried yellow soybeans
2.5 litres drinking-quality water, plus more for soaking
a food-grade coagulant with tofu-specific dosing instructions
Gypsum, or calcium sulphate, commonly produces tender, cohesive curds and can increase the tofu’s calcium content. Nigari, usually rich in magnesium chloride, acts more quickly and may create firmer curds. Products vary in composition and strength, so these coagulants are not interchangeable spoon for spoon.
Food-grade glucono delta-lactone, or GDL, is better suited to smooth, unpressed silken tofu. Lemon juice and vinegar can also coagulate soy milk, but they may contribute sourness and often produce less predictable curds.
You will also need a blender, a large heavy-based pot, a fine straining cloth, a colander, a large bowl, a slotted spoon, a perforated tofu mould and an evenly balanced weight. A kitchen thermometer is strongly recommended, although visual cues are provided if you do not have one.
Step 1: Soak the Soybeans Safely
Rinse the soybeans and remove any damaged or discoloured ones. Cover them generously with cool water because they will expand considerably as they hydrate.
Soak the beans for 8–12 hours in the refrigerator. Cold soaking may take longer than leaving them on the kitchen bench, but it limits microbial growth much more effectively, particularly in warm weather.
The beans are ready when they look plump and can be split easily lengthways. Drain and rinse them, then discard the soaking water. If the beans or water smell sour or fermented, feel slimy or appear unexpectedly fizzy, discard the batch rather than trying to rescue it.
Step 2: Grind and Strain
Blend the soaked beans in several batches with fresh water until the mixture is very fine. Avoid overfilling the blender, and pause if the motor begins to overheat.
Use the 2.5 litres of water across the blending batches and to rinse remaining soybean slurry from the blender. Keeping the total quantity controlled helps maintain a useful soy-milk concentration; adding unmeasured water can dilute the proteins and make coagulation less reliable.
Dampen the straining cloth and secure it inside a colander positioned over a large, clean bowl or pot. Add the raw slurry gradually so the cloth does not become overloaded. Gather its edges and squeeze firmly until the remaining pulp feels relatively dry.
The extracted liquid is raw soy milk, while the pulp is raw okara. Measure and record the volume of soy milk because the correct coagulant dose depends on the liquid you actually recovered, not simply the original bean weight.
Do not taste the raw soy milk or raw okara. Refrigerate the okara promptly and cook it thoroughly before eating, or freeze it for later use.
Step 3: Cook the Soy Milk Thoroughly
Transfer the raw soy milk to a roomy, heavy-based pot. Leave ample space above the liquid because soy milk can foam dramatically and rise within seconds.
Heat it gradually over medium heat, stirring across the base of the pot and scraping into the corners. As the foam begins to climb, lower the heat rather than walking away or covering the pot.
Once the soy milk reaches a steady simmer, cook it gently for 10–15 minutes, stirring and scraping frequently to prevent scorching. This thoroughly heats the milk and removes its raw flavour. If it burns, the scorched taste cannot be removed later because filtration has already taken place.
After cooking, allow the soy milk to reach approximately 80–85°C before adding the coagulant. If it is too hot, let it cool briefly; if it has fallen below the target, reheat it gently. Without a thermometer, look for abundant steam and slight surface movement, but no vigorous rolling boil.
Step 4: Form the Curds
Prepare the coagulant with warm water according to its tofu-specific instructions. Soluble coagulants such as magnesium chloride should dissolve readily. Calcium sulphate is only sparingly soluble and may form a suspension rather than a perfectly clear solution, so disperse it thoroughly and stir it again immediately before pouring.
Measure the coagulant for the volume of soy milk you extracted. Keep a small portion prepared for adjustment rather than adding the entire amount immediately. Too little may leave milky whey and weak curds, while too much can create bitterness, chalkiness or an unnecessarily tight texture.
Set the hot soy milk moving with one broad circular stir, then pour in most of the prepared coagulant. Stir gently for only a few seconds so it disperses through the milk. Stop the liquid’s movement with the spoon, cover the pot and leave it undisturbed for about 10 minutes.
Check carefully beneath the surface. Successful coagulation produces distinct white curds surrounded by translucent, pale-yellow whey. If the liquid remains noticeably milky, drizzle a little of the reserved coagulant around the unsettled areas. Move the spoon through the milk only once or twice, then cover the pot and wait again.
The goal is to distribute the coagulant without breaking the curds as they form. Vigorous stirring creates tiny fragments that drain poorly and produce crumbly tofu. At the other extreme, pouring the coagulant into one spot without any gentle distribution can leave some of the soy milk unset.
Step 5: Mould and Press
Line the tofu mould with a clean, damp cloth and position it where the whey can drain safely. Use a slotted spoon or ladle to transfer the curds gently. Avoid pouring them from a height, which can break the soft clusters apart.
Once the mould is filled, fold the cloth neatly over the surface, add the lid and place a modest, evenly balanced weight on top. Begin gently so the curds have time to settle and join together.
Press for approximately 15–30 minutes. Time is only one factor: the mould’s size, the weight, the curd structure and your preferred texture all matter. The tofu is ready when it holds together as a block but still yields slightly when touched.
Longer or heavier pressing removes more whey and produces denser tofu. Applying excessive force too early can push unconsolidated curds through the cloth, create uneven drainage or fracture the developing block.
Unwrap the tofu carefully and place it in cold drinking-quality water for several minutes. This cools it promptly, washes away loose whey and helps the outer surface become slightly firmer.
Common Problems and Better Fixes
The soy milk does not set: It may have been too cool, too dilute or insufficiently coagulated. Rewarm it gently and add a small quantity of prepared coagulant. Do not sprinkle dry powder directly into the milk.
The curds are tiny or the tofu crumbles: The milk may have been stirred too aggressively, or the curds may have been transferred roughly. Treat them as delicate clusters and disturb them only when necessary.
The tofu tastes bitter or chalky: Too much coagulant is the most likely cause. Measure carefully, follow the product’s instructions and adjust only one variable in your next batch.
The soy milk scorches or boils over: Use a larger heavy-based pot, moderate the heat and keep scraping the bottom. Lower the heat as soon as the foam begins to rise.
The block is softer than expected: It may need more pressing, but weak curds can also result from diluted soy milk or insufficient coagulant. Observe the whey and curds before assuming that pressing is the only problem.
Storage and Serving
Fresh tofu can be eaten while still slightly warm, when its subtle soybean sweetness is especially noticeable. However, it is a highly perishable, moisture-rich food and should not remain at room temperature for extended periods.
Cool it promptly, then use clean utensils to transfer it to a covered container of fresh drinking-quality water. Refrigerate at 5°C or colder, change the water daily and use the tofu within three days.
Discard the block if it develops a sour smell, slime, unusual discolouration or unexpectedly fizzy liquid. Never taste questionable tofu to determine whether it is safe.
Try the fresh tofu simply at first, perhaps with soy sauce, spring onion or ginger. It can then be used in soups, braises, pan-seared dishes or chilled preparations.
Final Takeaway
Homemade tofu demonstrates how texture emerges from a connected sequence of decisions. Fine grinding releases the useful components of the bean. Cool filtration makes extraction safer. Thorough cooking develops flavour and prepares the proteins to coagulate. Restrained movement preserves the forming curds, while patient pressing joins them into a cohesive block.
Record each batch’s bean weight, water quantity, extracted soy-milk volume, coagulant, temperature and pressing conditions. Change one factor at a time rather than adjusting everything at once. Early batches may vary, but careful observation gradually turns a delicate transformation into a dependable home craft.
